I love a gallery wall. I remember the first time I was confronted with a large blank wall and resisted the urge to plonk one or two pictures in the middle and try something a little different. I love working with clients when it comes to hanging artwork. It seems like a contradiction but bunching your works together can really make the individual pieces sing. So, here are my top tips for a great gallery wall…
Where to start
Clear some room on the floor directly below your wall, or as close as you can get. The best way to work out where to hang everything is by first playing with the layout on the floor. Don’t make any holes in the wall until you’ve read all the tips.
What to gather
You’ll need more pieces than you think, so gather up not only the things you have in mind for that wall but other pieces you have lying under your bed, on other walls, or still in a tube!
Mixing up styles
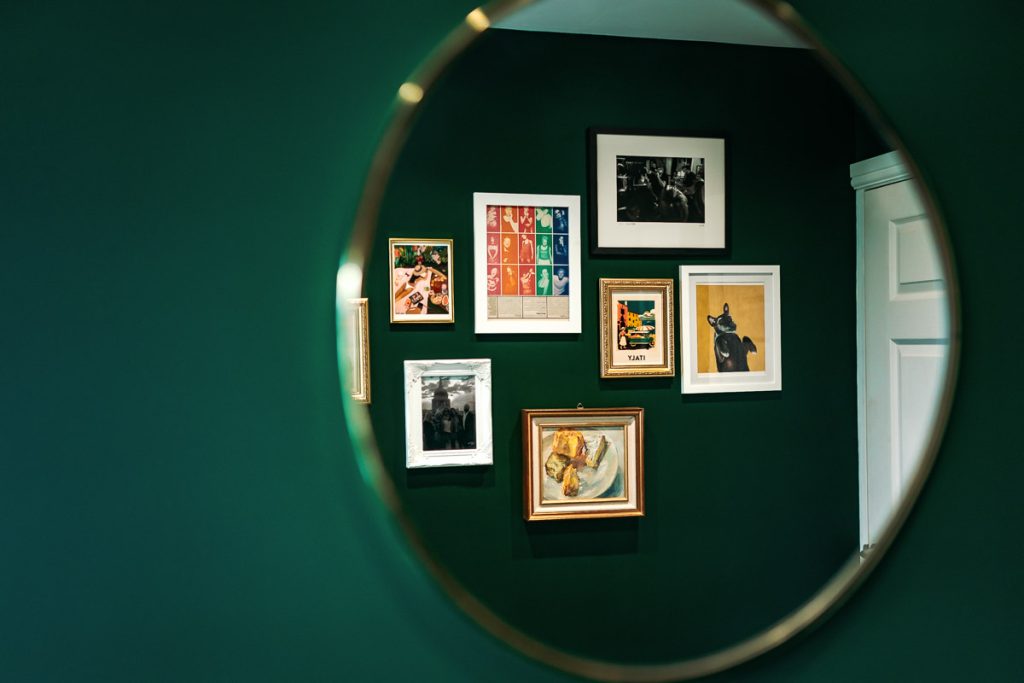
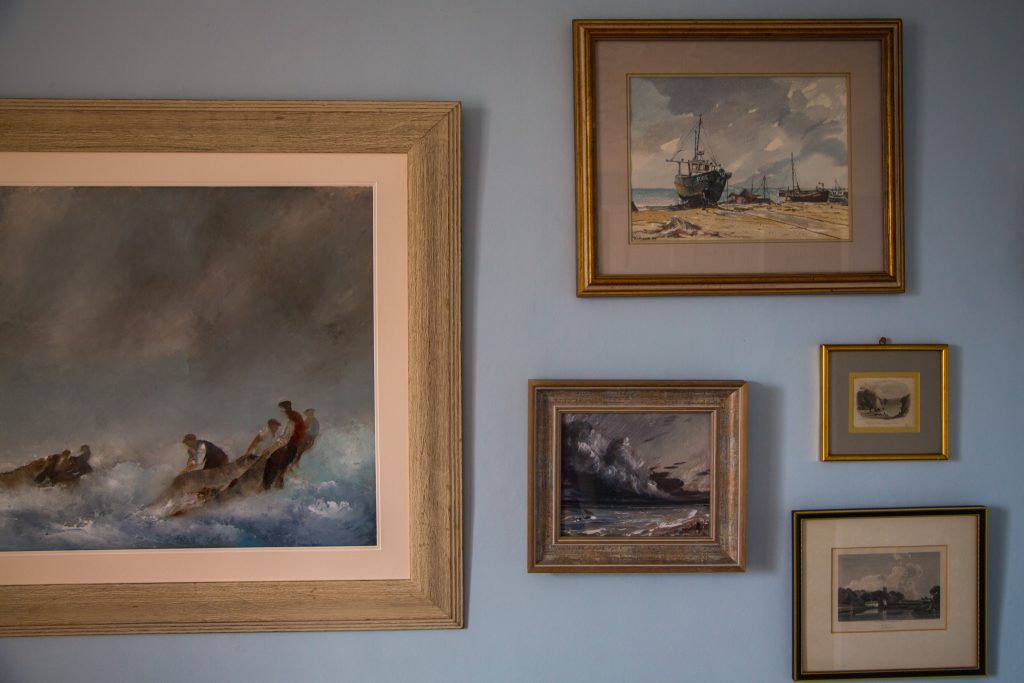
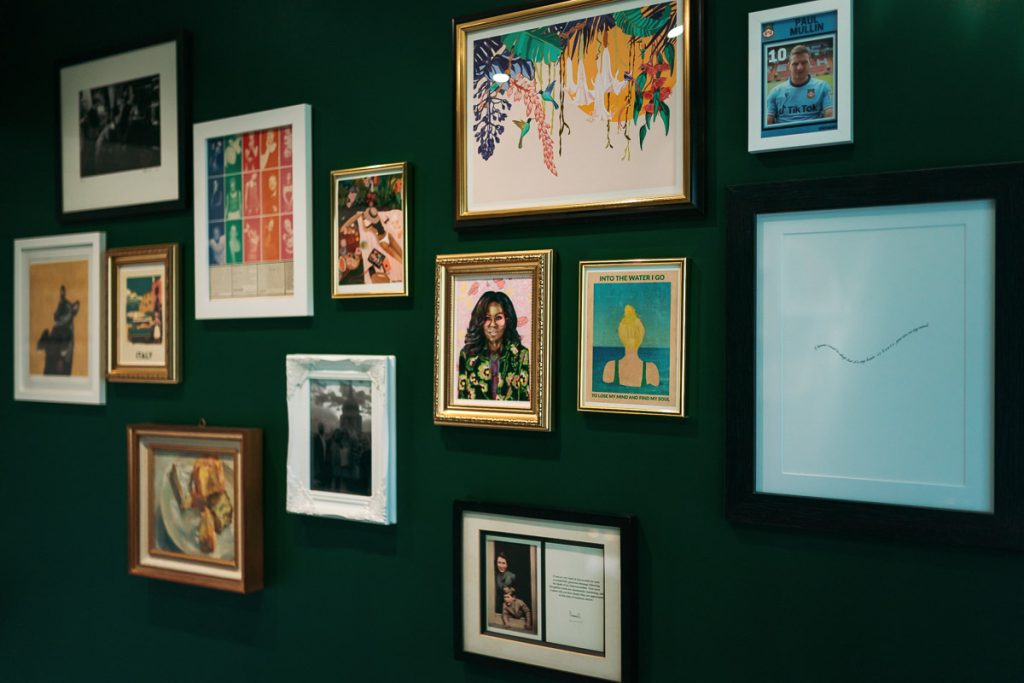
This is the important one: Nothing needs to “match”. Mix up media, styles, eras, frames (colour, thickness, style), colours and importantly sizes and layout (portrait and landscape). You’ll be surprised how this will elevate your gallery wall from something you’d find in an Ikea showroom to something straight out of the pages of an interiors magazine.
Identifying your anchor piece
Before you start arranging your pieces it helps to identify your anchor piece. Is there one pieces that jumps out? It might be because you love it or because it’s the key piece for the room’s décor or colour. Or it might be because there’s one piece that can only sit in a particular place on the wall because of space, size, lighting etc. Start with this piece and gradually build up the other work around it. Your anchor piece doesn’t have to be in the middle, simply use it as your starting point and go from there. Remember you’re only playing on the floor at this stage (top tip 1) so you haven’t made any holes in the wall.
Spacing
Resist the urge to line anything up or space anything evenly. Free yourself from the rule we think exists about everything being even! Your gallery wall will look better for things being off centre. This also makes it easier to add one or two pieces later on.
Layout
Keep playing with the layout until you’re happy. When you think you’re close take a photo and then hold your phone up to the wall so that you can imagine the layout in situ. If you need to, take a break and come to it with fresh eyes a little while later. The important thing is to keep playing until you’re happy.
Measuring
Only start making holes in the wall when you’re really happy with the layout you have made on the floor. Make sure you take a picture of the final layout so you have it for reference. Measure the width and height of your layout and decide where the top point and either left/right/centre point needs to be. Depending on these parameters you could start by hanging the anchor piece first or one on the far left or right.
Finishing your gallery wall
Keep going, following the final layout you have as reference on your phone, until all your pieces are displayed. Stand back and admire your work. Hell, why not post it? #gallerywall
Leave a Reply